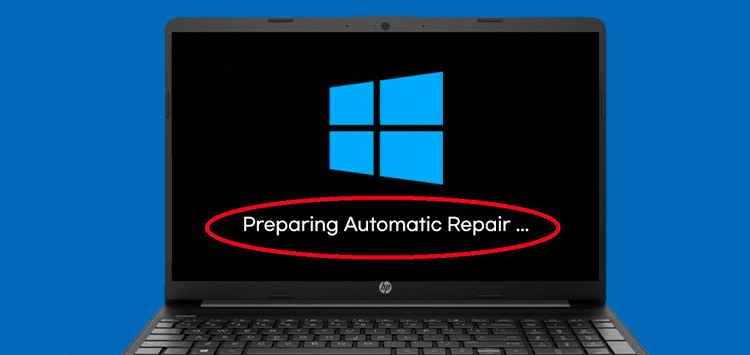
If you’re a Windows 10 user, you might have encountered a situation where your computer suddenly goes into “Preparing Automatic Repair” mode. This can be a source of anxiety, especially if you rely on your computer for work or personal tasks. In this blog post, we’ll demystify the Preparing Automatic Repair message, explain why it occurs, and provide step-by-step instructions on how to resolve common issues associated with it.
Preparing Automatic Repair is a Windows 10 feature designed to help diagnose and fix issues that prevent your computer from starting correctly. When Windows detects a problem during startup, such as a corrupt system file or hardware issue, it initiates the automatic repair process to attempt to resolve the problem and get your system running smoothly again.
Several issues can trigger the “Preparing Automatic Repair” message:
Here’s a step-by-step guide on how to address the “Preparing Automatic Repair” message:
1. Wait Patiently
The initial “Preparing Automatic Repair” process can take several minutes to complete. Give it some time to see if it resolves the issue automatically.
2. Try Safe Mode
If the automatic repair process doesn’t work, you can try booting your computer into Safe Mode. To do this:
3. Use System Restore
If you recently installed software or updates that may have caused the issue, you can use System Restore to revert your computer to a previous state:
4. Perform a Startup Repair
If none of the above methods work, you can attempt a Startup Repair:
5. Check for Hardware Issues
If you suspect hardware problems, consider running diagnostic tests on your hard drive and memory. Most computer manufacturers provide built-in diagnostics tools accessible during startup.
6. Reinstall Windows
As a last resort, you may need to reinstall Windows 10. Ensure you have backups of your important data before proceeding.
The Preparing Automatic Repair message in Windows 10 is designed to help you when your computer encounters startup problems. By understanding why it occurs and following the steps outlined in this guide, you can often resolve the issue and get your computer back in working order. If you continue to experience problems, it’s advisable to seek professional assistance or contact Microsoft support for further guidance.
